Azure VMware Solution with HCX Disaster Recovery allows you to operate Azure as cloud disaster recovery site in a very simple and efficient way.
Based on vSphere Replication, you can protect up to 500 concurrent VMs per HCX Manager in an asynchronous replication mode. The RPO settings go from 5 minutes to 24 hours per VM (depending of your bandwidth) and you can also have up to 24 multi-points recovery snapshots for each VM.
Furthermore, you can optimise the replication throughput for HCX Disaster Recovery by using HCX WAN Optimization.
I covered the HCX WAN Optimization part in a previous article here.
Note that the whole recovery process is done manually, there is no runbook to orchestrate automatically the recovery of your protected VMs like in VMware SRM (also available in Azure VMware Solution).
Click here to learn more about VMware HCX Disaster Recovery.
In this article, I focus on recovering a VM after simulating the loss of my on-premise site. If you want to learn more about setting up HCX Disaster Recovery on Azure VMware Solution, I recommend you reading this Microsoft article: Deploy disaster recovery using VMware HCX
Site Failure simulation
In order to simulate the crash of my source site, I powered off all my HCX VMs on-premise (HCX Manager, HCX NE and HCX WAN-OPT).
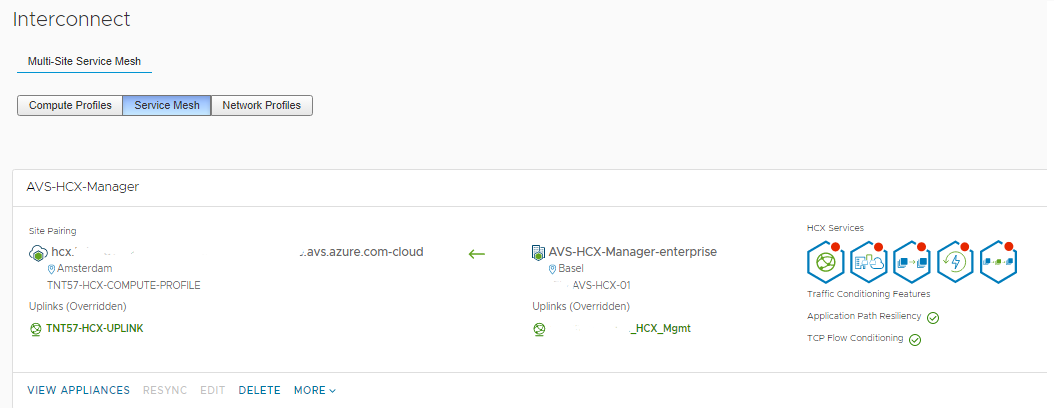
Therefore, the connection between on-premise and Azure VMware Solution is broken
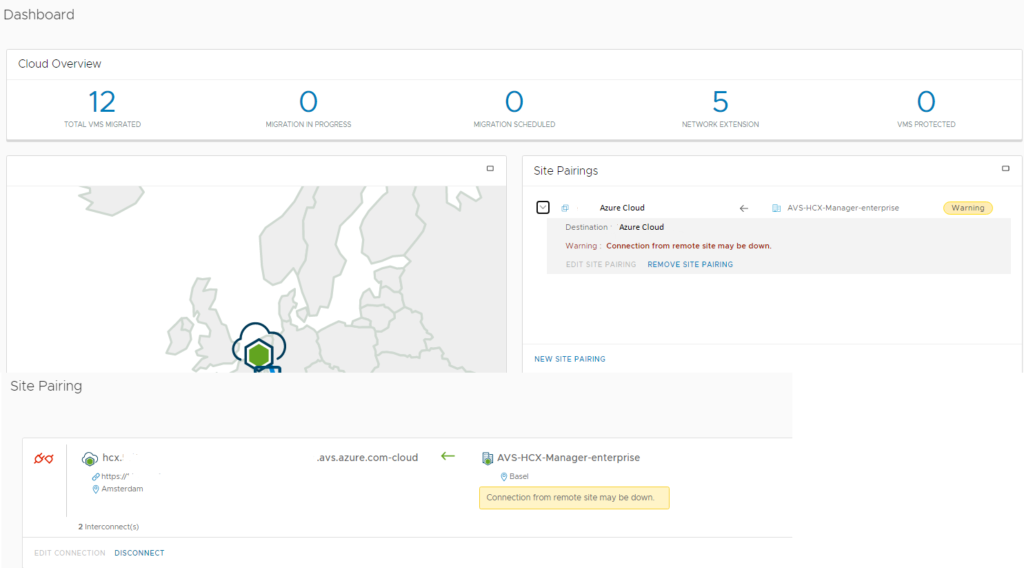
And I also lost the connectivity to my HCX Services on-premise
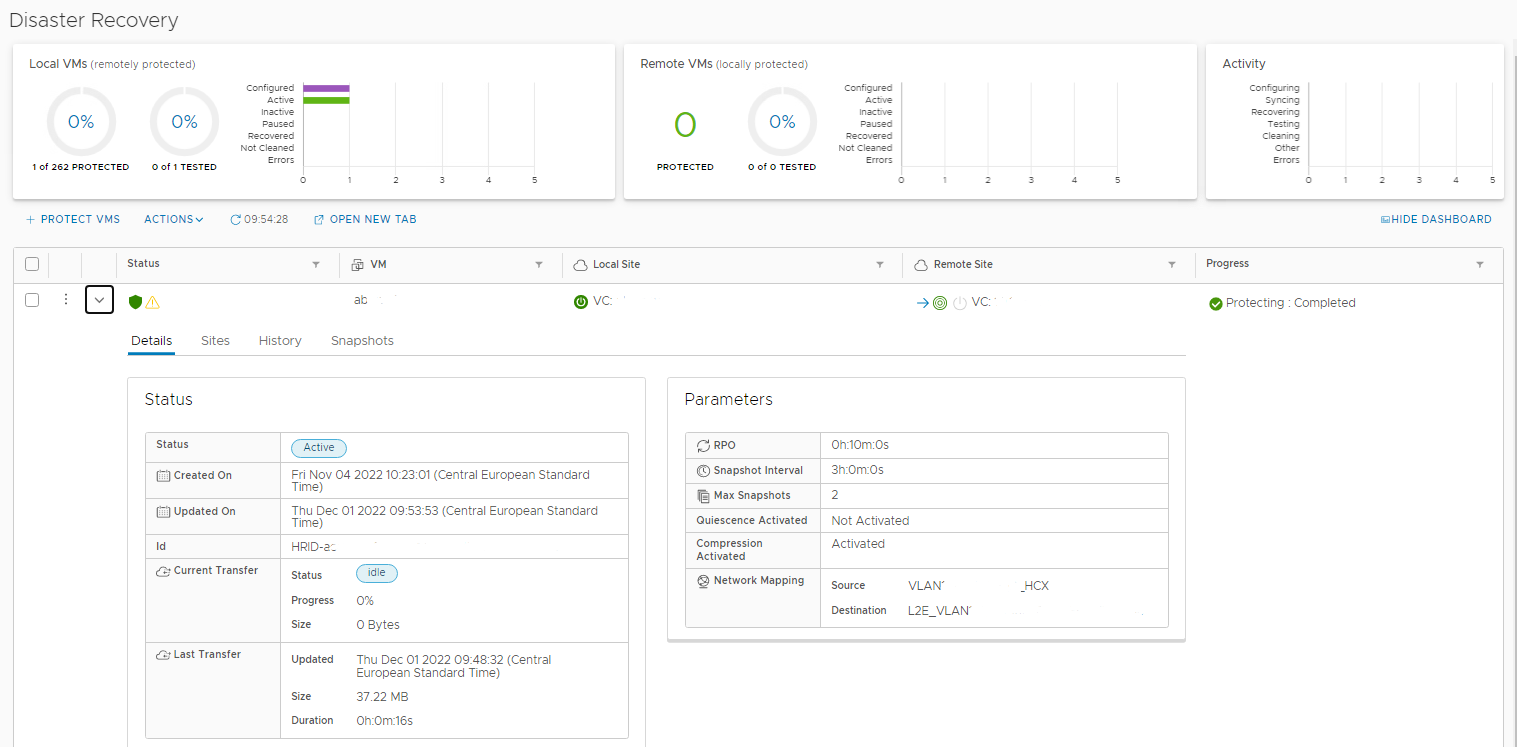
Under the HCX Disaster Recovery dashboard, you can see all the information regarding your protected VM(s): Details, Site, History and Snapshots.
In my case, I only have 1 VM protected with the following parameters:
- RPO: 10 minutes
- Maximum Snapshots: 2
- Snapshot interval: every 3 hours
Details HCX Disaster Recovery
Sites HCX Disaster Recovery
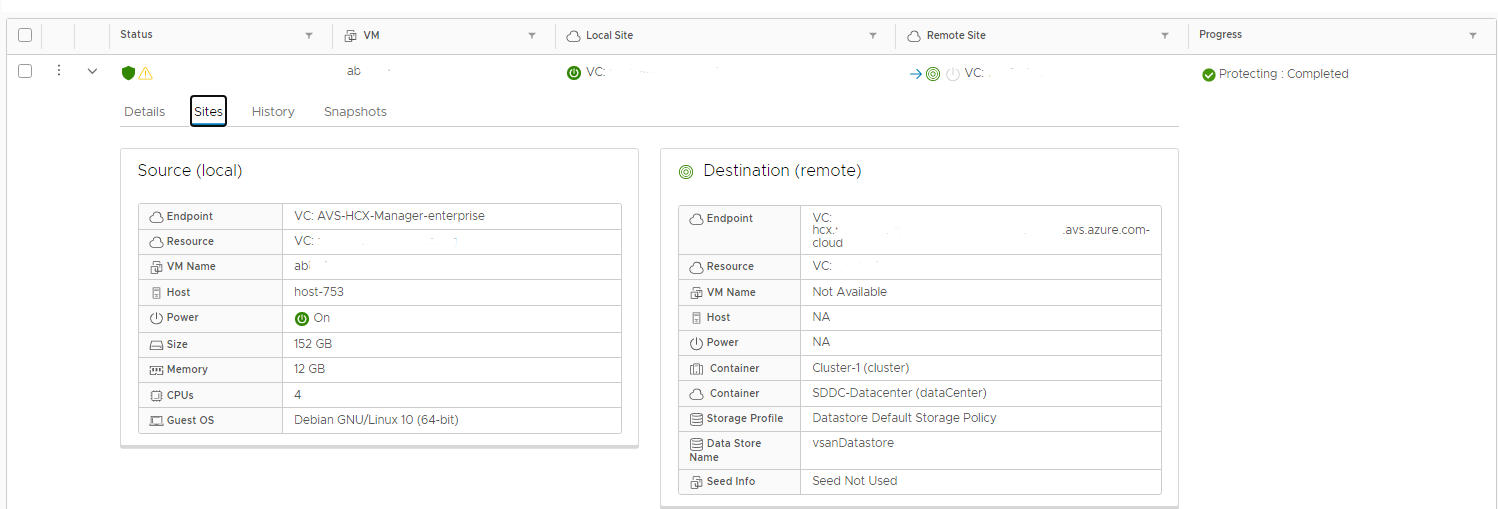
Snapshots HCX Disaster Recovery

VM Recovery Operations
To start recovering your VM(s), you need to select the protected VM(s) then under the Recovery Operations in the Actions menu, click on Recover VMs

A new window appears where you can choose different recovery options such as:
- Point in time snapshot to use for the recovery
- Destination VM folder
- Destination cluster
- Recovered VM power state (on/off)
- Target VM portgroup
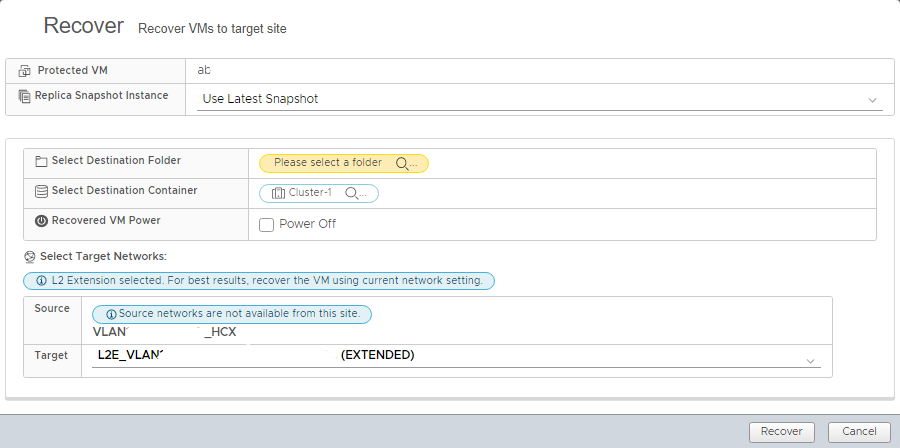
After clicking on Recover, the recovery process begins
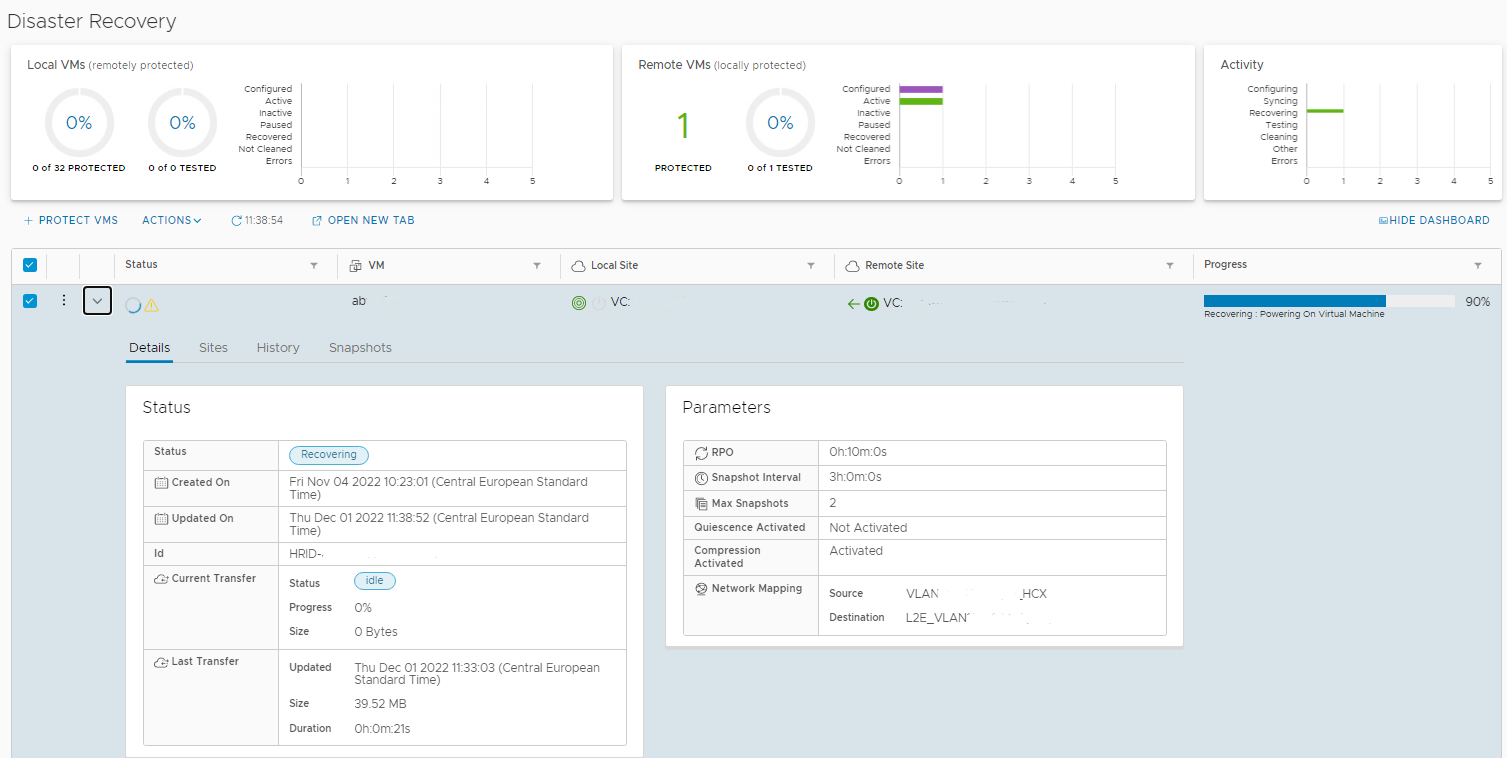
Few minutes later, the recovery is complete and the VM is running on the destination AVS site
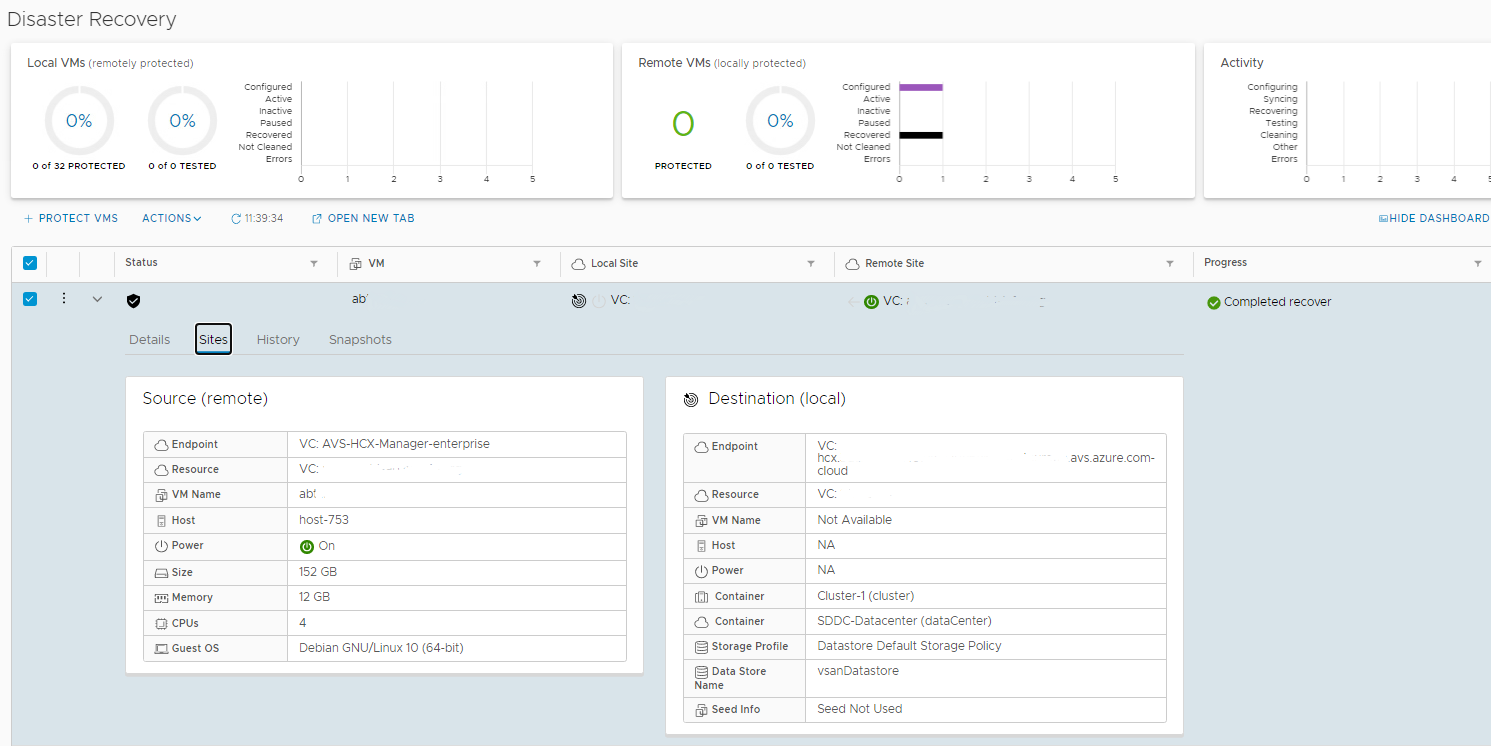
Once your on-premise site back online, you can re-protect the VM(s) from AVS to your on-premise.
As you can see, Azure VMware Solution with HCX Disaster Recovery is quite simple and easy to use. It’s a very convenient alternative to VMware SRM if you don’t need to customize the recovered VM(s) and/or automate the orchestration of your disaster site recovery in a sequential fashion.
